A while ago I started building a website using Django as its backend and Vue.js as its frontend. Unlike other apps, however, there is a twist: it is multi-page. The website should resemble a normal website built natively on Django, with multiple urls and the ability to jump into any page (without faking it with vue-router) as well as Vue’s reactiveness. So, after digging around various tutorials and guides, none of which fully answered the question, I would like to share my piece in solving the equation.
# Introduction and TLDR
This post will start with the basics of using Vue.js and Django. Then, it will move on to use more advanced tools such as webpack to serve the Vue.js frontend on Django. Finally, we will be modifying it a bit to serve multi-page Vue.js.
I have also created a Github repo that includes the finished project of this tutorial. You can check it out at gundamMC/vue-django-multipage-example.
# Vue.js
To quote Vue’s website, Vue is a “a progressive framework for building user interfaces.” That is, in English, creating smooth and beautiful websites dynamically (i.e. responsive). If you are more experienced with frontend development, here is a comparison between Vue and other frameworks.
# Django
While we are using Vue to take care of the user interface, we will be using Django for the backend mess. Django offers a python web framework with extensive features that “takes care of much of the hassle of Web development.”
Although Django does include a template engine, we will be using Vue.js for its responsiveness and convenience.
# Django Setup
# Installing Django
To install Django, you need to first install Python at https://www.python.org/downloads/. You can verify your installation by typing python in your shell / command prompt (you can exit the python shell with exit()). Next, install Django with pip by typing this in your shell:
pip install Django
You may want to also consider installing it in a virtual environment.
# Creating the Django Project
Next, cd into a directory and use django-admin to start a new django project.
django-admin startproject mysite
This will create a new mysite directory with the following file structure:
mysite/
    manage.py
    mysite/
        __init__.py
        settings.py
        urls.py
        wsgi.py
2
3
4
5
6
7
Next, we will create a new application using the provided manage.py. The Django guide explains this quite well:
What’s the difference between a project and an app? An app is a Web application that does something – e.g., a Weblog system, a database of public records or a simple poll app. A project is a collection of configuration and apps for a particular website. A project can contain multiple apps. An app can be in multiple projects.
python manage.py startapp myapp
We can start serving our Django website with
python manage.py runserver
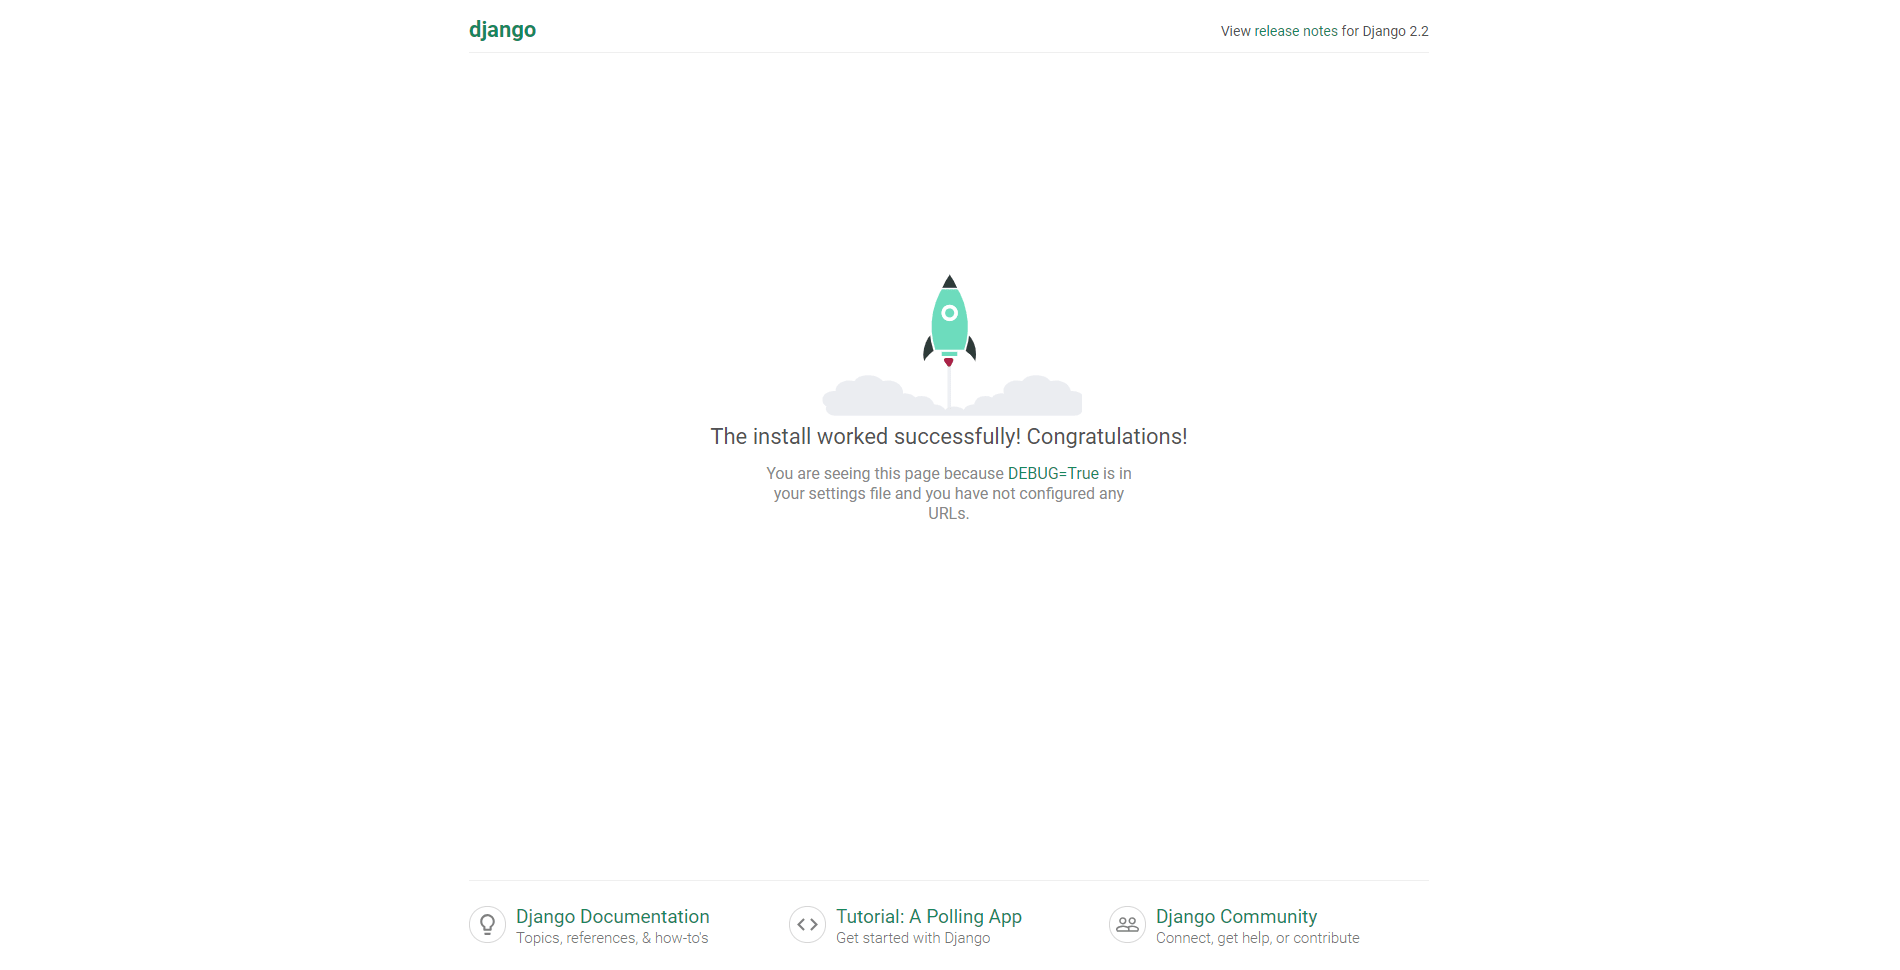
Now, you should be able to see a default Django page on http://127.0.0.1:8000/

# Vue.js Setup
# Installing Vue
Install Node.js from https://nodejs.org/en/download/. Then, we will install Vue and set up a project using Vue Cli.
npm install -g @vue/cli
You can check the installation with vue --version. It should output a 3.x version.
# Creating the Vue.js Project
Now, let’s set up a Vue project using the CLI. (The CLI also provides also a more user-friendly GUI that you can use by running vue gui. Remember to stop the Django site first since they both run on the 8000 port).
Move to the mysite directory and type this into your shell:
vue create frontend --no-git
This will ask you a couple of settings (you could just go with default for all of them) and create a new directory frontend that contains your Vue project. If you’re wondering, --no-git prevents the CLI from initializing a git repository for the frontend folder (since we need to initialize it from the mysite folder if we want to include the Django files).
Before starting Vue, let’s first install some dependencies with
cd frontend
npm install
2
Finally, serve your Vue app with
npm run serve
You can check it out on http://127.0.0.1:8080/.

# Connecting Vue.js and Django: Webpack
# Django Webpack Setup
# Django Webpack Loader and Settings.py
Install the webpack app on Django with pip.
pip install django-webpack-loader
Then, let’s set up the Django config in mysite/settings.py.
Add this to where you have BASE_DIR
TEMPLATES_DIR = os.path.join(BASE_DIR, 'templates')
FRONTEND_DIR = os.path.join(BASE_DIR, 'frontend')
2
This will give us directory paths for the templates folder that will store all of our HTML templates and the frontend folder for Vue.
Then, scroll down and change your TEMPLATES to this in order to make Django use our templates folder.
TEMPLATES = [
  {
  'BACKEND': 'django.template.backends.django.DjangoTemplates',
  'DIRS': [TEMPLATES_DIR, ],
  'APP_DIRS': True,
  'OPTIONS': {
    'context_processors': [
      'django.template.context_processors.debug',
      'django.template.context_processors.request',
      'django.contrib.auth.context_processors.auth',
      'django.contrib.messages.context_processors.messages',
      ],
    },
  },
]
2
3
4
5
6
7
8
9
10
11
12
13
14
15
Add webpack_loader and our app to INSTALLED_APPS.
INSTALLED_APPS = [
  'django.contrib.admin',
  'django.contrib.auth',
  'django.contrib.contenttypes',
  'django.contrib.sessions',
  'django.contrib.messages',
  'django.contrib.staticfiles',
  'webpack_loader',
  'myapp',
]
2
3
4
5
6
7
8
9
10
At the end of settings.py, we can setup webpack with WEBPACK_LOADER.
WEBPACK_LOADER = {
  'DEFAULT': {
    'CACHE': DEBUG,
    'BUNDLE_DIR_NAME': '/bundles/',  # must end with slash
    'STATS_FILE': os.path.join(FRONTEND_DIR, 'webpack-stats.json'),
  }
}
2
3
4
5
6
7
And we’re done with settings! If you’re familiar with Django, you can now move on to create urls and models. If you want a quick guide, here’s how to add a new page to your site.
# Urls
Open mysite/urls.py and add a new url pattern by referencing our app.
from django.contrib import admin
from django.urls import path, include
urlpatterns = [
  path('admin/', admin.site.urls),
  path('', include('myapp.urls'))
]
2
3
4
5
6
Then, let’s add an url in myapp. Create a new file myapp/urls.py
from django.urls import path
from django.views.generic import TemplateView
urlpatterns = [
  path('', TemplateView.as_view(template_name="index.html"), name="app")
]
2
3
4
5
With this, any empty url pattern ('') will be redirected to the template index.html in our template folder.
# Adding a Template
Move to the project root and create a templates folder if it is not automatically created. In there, add an index.html file.
{% load render_bundle from webpack_loader %}
<!DOCTYPE html>
<html lang="en">
  <head>
    <meta charset="utf-8">
    <meta http-equiv="X-UA-Compatible" content="IE=edge">
    <meta name="viewport" content="width=device-width,initial-scale=1.0">
    <link rel="icon" href="<%= BASE_URL %>favicon.ico">
    <title>Django Vue Integration</title>
  </head>
  <body>
    <noscript>
      <strong>
        We're sorry but frontend doesn't work
        properly without JavaScript enabled.
        Please enable it to continue.
      </strong>
    </noscript>
    <div id="app">
      <app></app>
    </div>
    {% render_bundle 'index' %}
    <!-- built files will be auto injected -->
  </body>
</html>
2
3
4
5
6
7
8
9
10
11
12
13
14
15
16
17
18
19
20
21
22
23
24
25
And, we’re all set in Django! Let’s now move on to Vue.js.
# Vue.js Webpack Setup
# Webpack-bundle-tracker
Install the webpack-bundle-tracker package with:
npm install --save-dev webpack-bundle-tracker
Then, configure webpack by creating a vue.config.js file in your frontend folder. Add the following to it:
const BundleTracker = require("webpack-bundle-tracker");
module.exports = {
    publicPath: "http://127.0.0.1:8080/",
    outputDir: './dist/',
    chainWebpack: config => {
        config.optimization
            .splitChunks(false)
        config
            .plugin('BundleTracker')
            .use(BundleTracker, [{filename: '../frontend/webpack-stats.json'}])
        config.resolve.alias
            .set('__STATIC__', 'static')
        config.devServer
            .public('http://0.0.0.0:8080')
            .host('0.0.0.0')
            .port(8080)
            .hotOnly(true)
            .watchOptions({poll: 1000})
            .https(false)
            .headers({"Access-Control-Allow-Origin": ["\*"]})
    },
    pages: {
        index: 'src/main.js'
    }
};
2
3
4
5
6
7
8
9
10
11
12
13
14
15
16
17
18
19
20
21
22
23
24
25
Rodrigo Smaniotto explains it in his tutorial:
We are changing the baseUrl constant to the path “http://0.0.0.0:8080”. because that’s where django-webpack-loader will redirect the path to the bundle, so we end up with a final url that’s plain weird (“http://0.0.0.0:8080/http://0.0.0.0:8080”). That’s the workaround, we set the devServer public url back to http://0.0.0.0:8080. And we’re done. We’re setting split vendor chunks to false in order to webpack generate only one javascript file. And we’re configuring the bundle tracker plugin to generate the webpack-stats.json in the project frontend folder. This is where the WEBPACK_LOADER config in settings.py should point to.
However, changing baseUrl is not recommended now, and for some reason using 0.0.0.0 does not work for me. So, I’ve change it to publicPath: "http://127.0.0.1:8080/".
The pages option is used to build the frontend in multi-page mode. Basically, we’re defining a new page, named index, that has the entry point of main.js. Please refer to the Vue documentation for more details.
# Serving
Serving Vue.js and Django is simple. Start up two shells. In your project root directory, run:
python manage.py runserver
Then, in your other shell, cd to the frontend folder and use
npm run serve
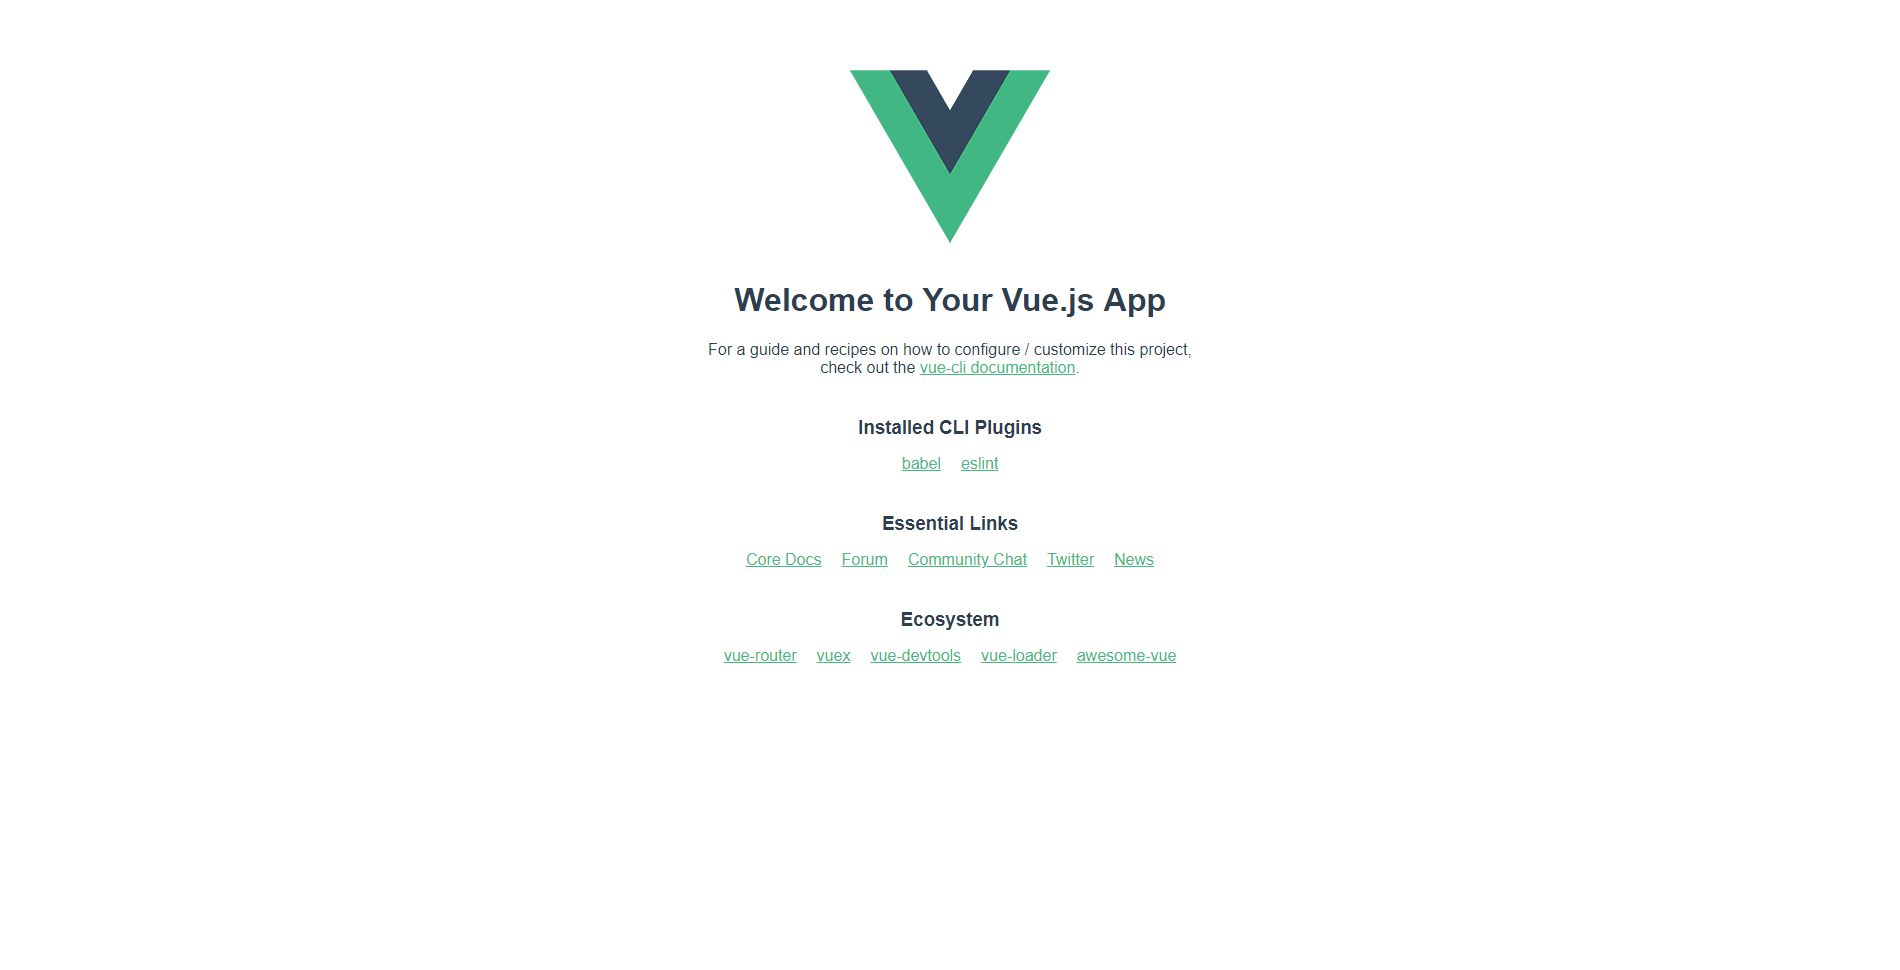
Go to http://127.0.0.1:8000/ and you should see the Vue default page being served on Django.
# Adding More Pages
# Multi-Page Vue.js
We have already prepared our Vue configuration for multiple pages. However, we have not created a second page yet. Let’s do that.
Go to frontend/src and create two new files: new_page.vue and new_page.js. Your file structure should look something like this:
src/
    assets/
    components/
    App.vue
    main.js
    new_page.js
    new_page.vue
2
3
4
5
6
7
In new_page.vue, copy and paste the following code. This constructs a really simple Vue page that we are going to use as our second page. To learn more about Vue, refer to the official documentations.
<template>
  <div id="app">
    <img alt="Vue logo" src="./assets/logo.png">
    <div>
      <h1>New Page</h1>
      <p>
        Congratulations! You've just created a new page.
      </p>
    </div>
  </div>
</template>
<script>
</script>
<style>
#app {
  font-family: 'Avenir', Helvetica, Arial, sans-serif;
  -webkit-font-smoothing: antialiased;
  -moz-osx-font-smoothing: grayscale;
  text-align: center;
  color: #2c3e50;
  margin-top: 60px;
}
</style>
2
3
4
5
6
7
8
9
10
11
12
13
14
15
16
17
18
19
20
21
22
23
In new_page.js, add the following in order to create and render the Vue instance.
import Vue from 'vue'
import App from './new_page.vue'
new Vue({
  render: h => h(App),
}).$mount('#new_page');
2
3
4
5
Finally, we should add this new page and its entry point to Vue configuration (vue.config.js). We can do so by adding another item to the pages dictionary (aka object if you’re familiar with JS). The new dictionary should resemble this:
    pages: {
        index: 'src/main.js',
        new_page: 'src/new_page.js'
    }
2
3
4
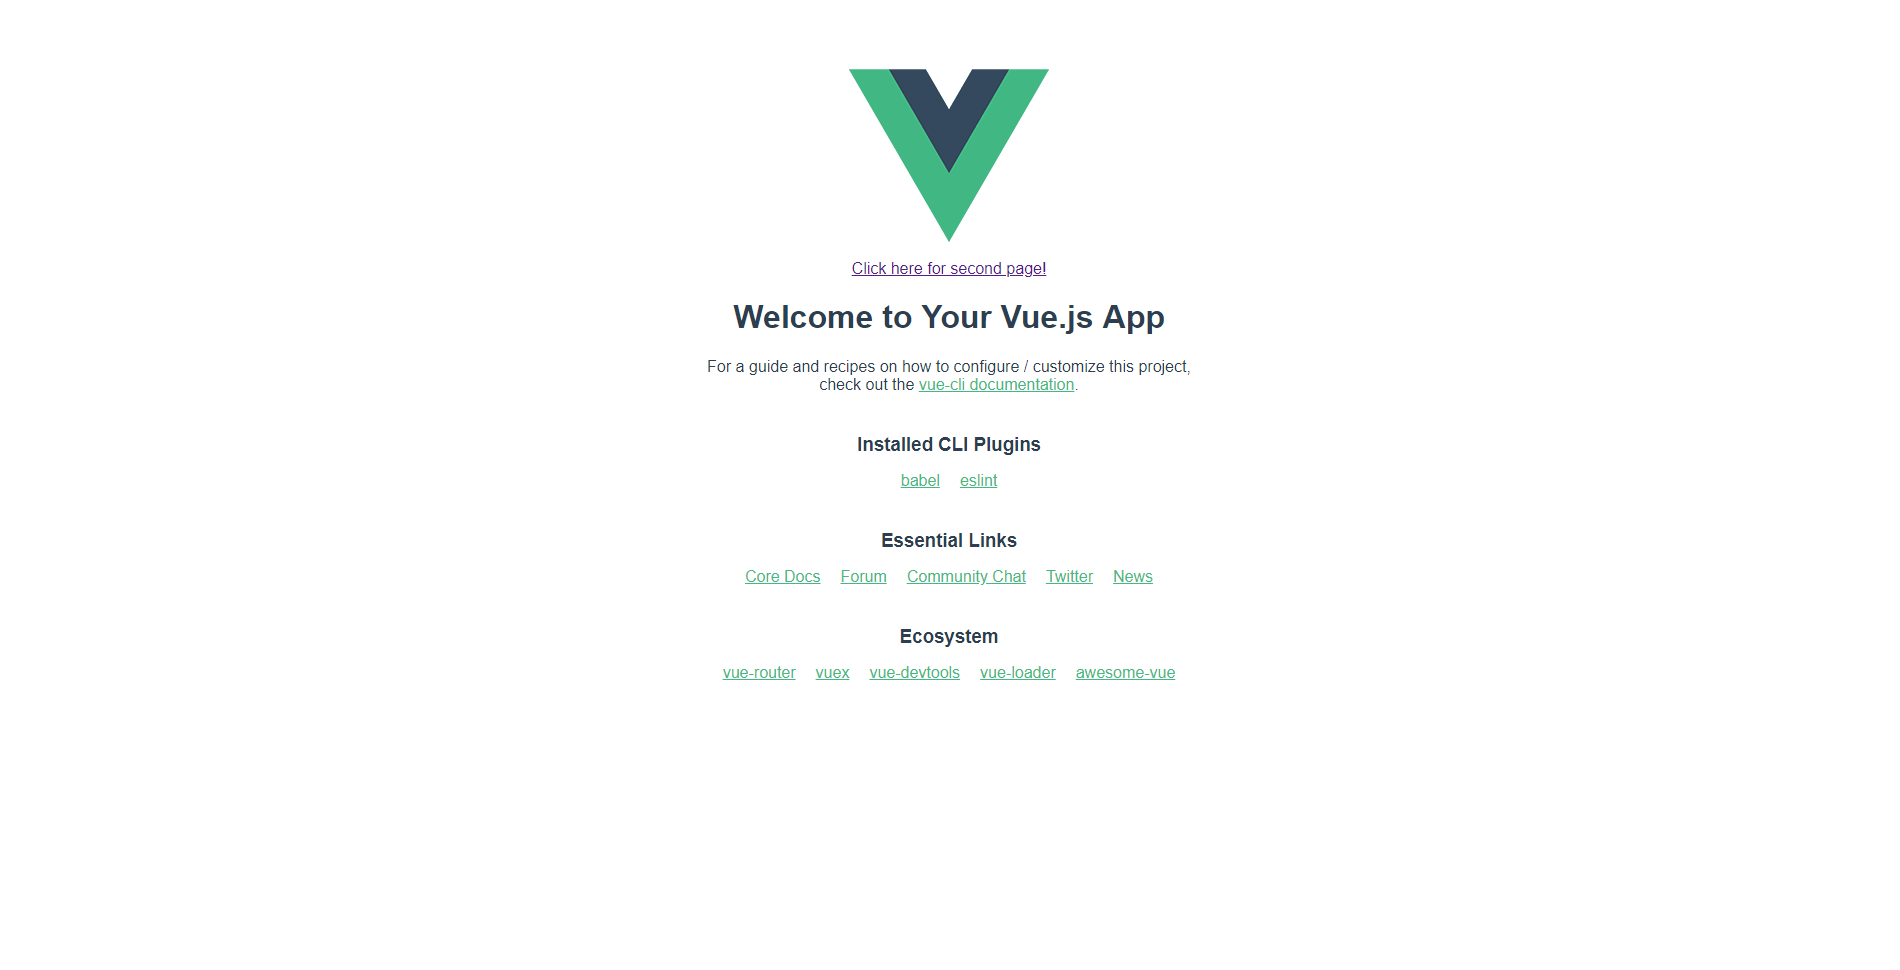
Before we move on, let’s add a link so we don’t have to type in the url every time. Like all other urls, the new page can be referenced with <a href="/new_page">.
Change your App.vue‘s <template> section to the following.
<template>
  <div id="app">
    <img alt="Vue logo" src="./assets/logo.png">
    <br/>
    <a href="/new_page">Click here for second page!</a>
    <HelloWorld msg="Welcome to Your Vue.js App"/>
  </div>
</template>
2
3
4
5
6
7
8
# Multi-page Django
With multi-page set up in Vue.js, we can move on to Django. First of all, a template to serve the new Vue page is needed. To do this, simply create new_page.html in the templates folder.
{% load render_bundle from webpack_loader %}
<!DOCTYPE html>
<html lang="en">
  <head>
    <meta charset="utf-8">
    <meta http-equiv="X-UA-Compatible" content="IE=edge">
    <meta name="viewport" content="width=device-width,initial-scale=1.0">
    <link rel="icon" href="<%= BASE_URL %>favicon.ico">
    <title>New Page</title>
  </head>
  <body>
    <noscript>
      <strong>We're sorry but frontend doesn't work properly without JavaScript enabled. Please enable it to continue.</strong>
    </noscript>
    <div id="new_page">
      <app></app>
    </div>
    {% render_bundle 'new_page' %}
    <!-- built files will be auto injected -->
  </body>
</html>
2
3
4
5
6
7
8
9
10
11
12
13
14
15
16
17
18
19
20
21
Don’t forget to create an URL for new_page and reference this template:
urlpatterns = [
    path('', TemplateView.as_view(template_name="index.html"), name="app"),
    path('new_page', TemplateView.as_view(template_name="new_page.html"), name="new_page")
]
2
3
4
# Results
And… There you have it! Go to http://127.0.0.1:8000/ to see your new website. (If hot reload for some reason does not re-render the page, try restarting the Django/Vue server).
 Here's index at http://127.0.0.1:8000/
 and your new page at http://127.0.0.1:8000/new_page
# Conclusion
After going through all of this mess, you have now successfully created a multi-page website with a Django backend and a Vue frontend. However, there’s still a major piece of the puzzle missing. How do we connect Vue to Django? As we already see with the template files, the Django template engine will not work on Vue content.
The answer is fairly simple: an API. To elaborate, the Django backend will serve an API of some sort (e.g. REST) to handle jobs such as authentication and models. Vue, on the other hand, will use this API to create a responsive and visually appealing user interface.
If you want to add a bit of liveliness and fun to your site, also check out my tutorial on live2d-widget.js!